With tags you can label specific sections in your Dispatcher interface which then can be used as filters in List & Explore View.
Tags can be applied to your vehicles in Fleet Management, your drivers, and saved addresses.
How to setup
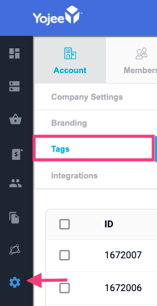
1. Go to Manage, and under the Account menu, click on Tags
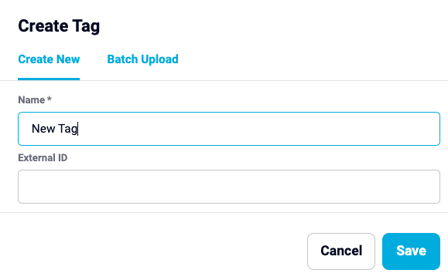
2. Click on Create Tag and enter the name of your tag and save.
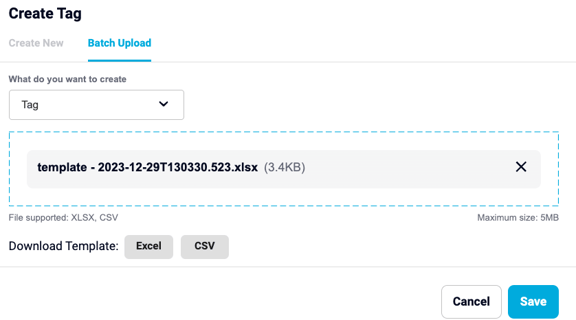
3. Alternatively, use the Batch Upload tab to upload multiple tags at one time.
You'll be presented with an option to download a "predefined template" in either Excel (.xlsx) or (.csv) format.
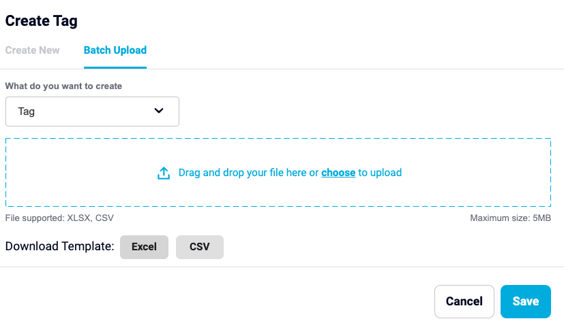
Once the file is configured and saved, drag to modal or open the file as shown and Save.
NOTE
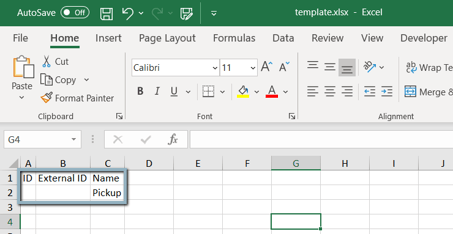
- ID - this should be empty unless you would like to override the existing tags in your dispatcher account
- External ID - optional
- Name - mandatory
Eg:
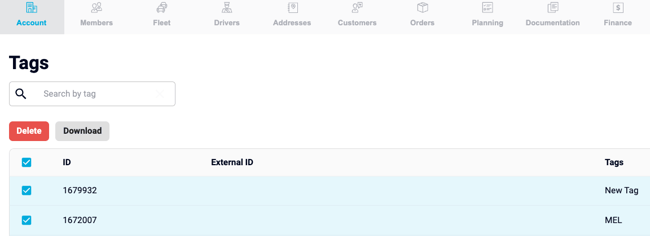
Editing or Deleting an existing tag.
Go to the right of the list and hover over the tag you want to edit or delete. You will see the options as displayed:
Alternatively you can select the checkbox to download all tags into one file or bulk delete.