Understanding why orders are being canceled is crucial for optimising network performance. It allows you to identify any recurring issues or bottlenecks in the system. By capturing this data, you can analyse patterns and trends, enabling you to make informed decisions and improvements to the overall efficiency of the network.
Furthermore, capturing cancellation data can help the dispatcher take appropriate actions after a cancellation. They can reach out to the customer to address any concerns or issues, ensuring a high level of customer satisfaction. Additionally, by understanding the reasons behind cancellations, dispatchers can proactively take steps to prevent similar situations in the future.
In order to streamline the cancellation process and facilitate better decision-making, Yojee has introduced cancellation and rejection reason codes. These codes provide a standardised response and enable better analytics. When canceling an order or when a delivery partner rejects an order, these reason codes will appear, allowing for consistent and meaningful data capture.
Manage Reason Codes
Reason Codes can be managed by navigating to Manage > Orders > Reason Codes
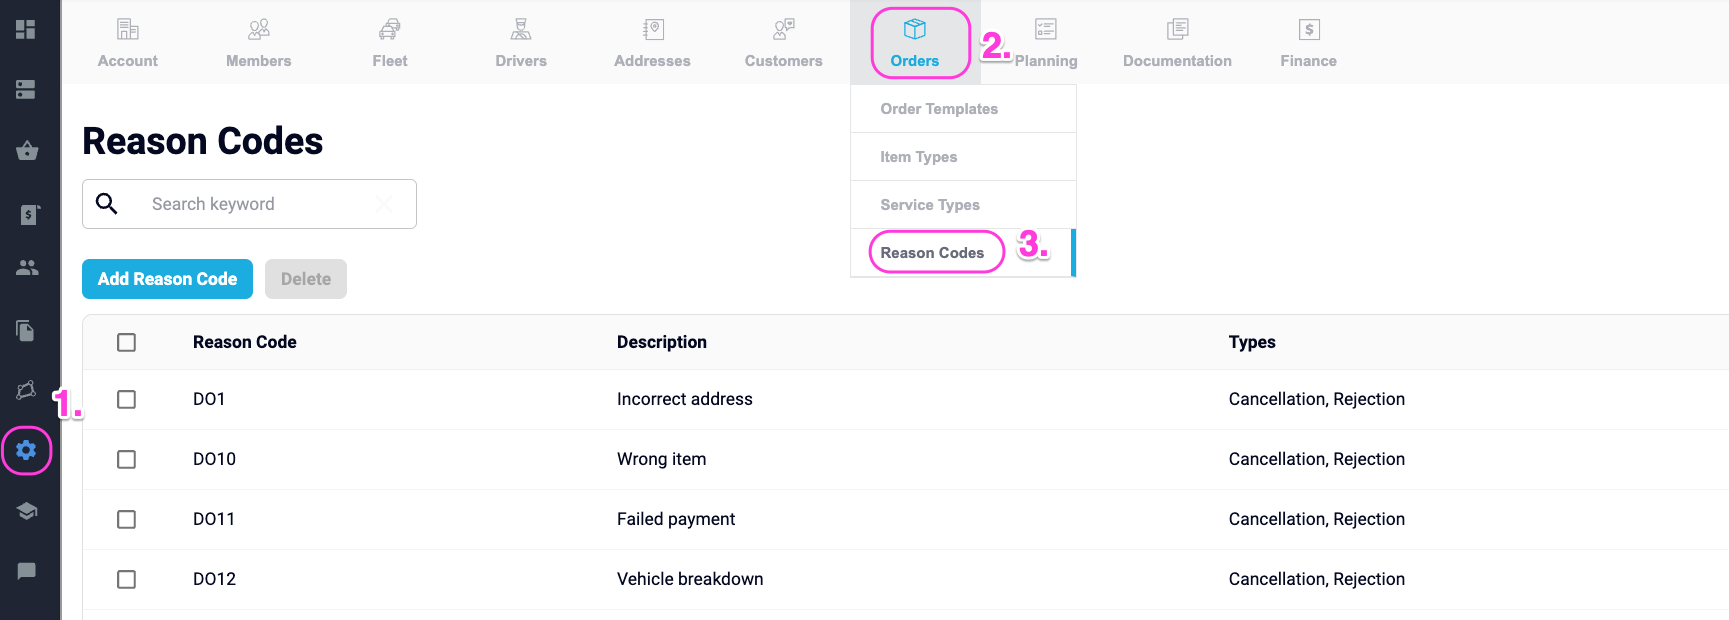
From here, reason codes can be edited, deleted or added.
Create Reason Codes - Manual Upload
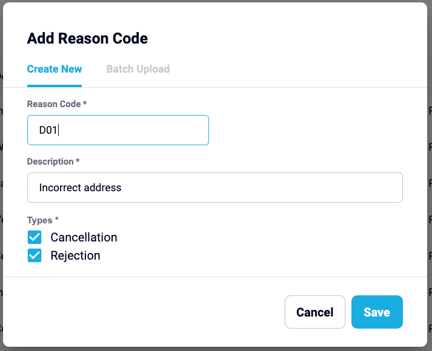
- Select Add Reason Code
- Add a new Reason Code
- Add Description
- Select Type (either one or both)
- Cancellation - Applicable when cancelling an active order created in your Yojee environment
- Rejection - Applicable when rejecting a transferred order from a partner
- Select Save
Create Reason Codes - Batch Upload
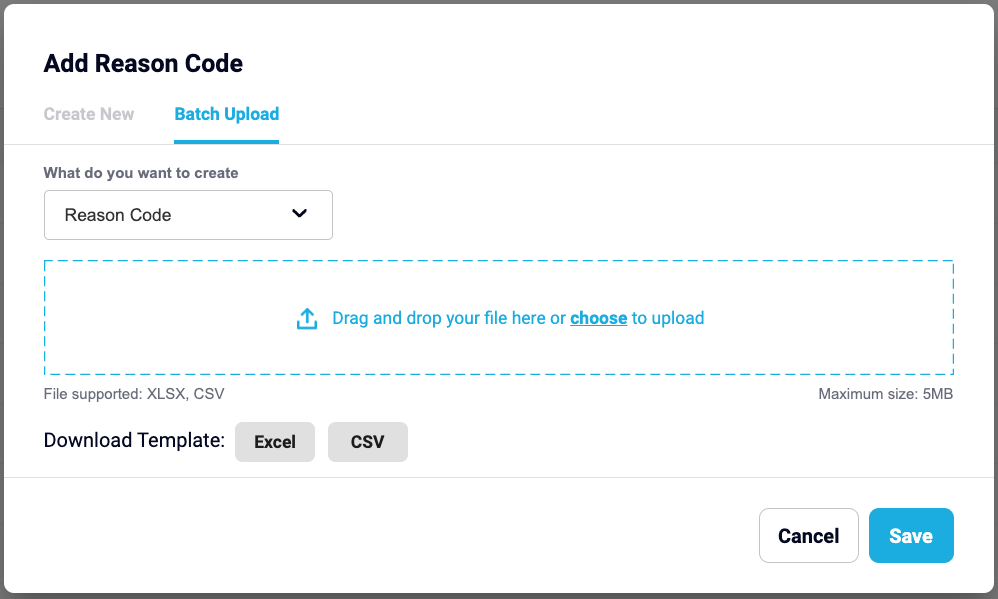
- After selecting 'Add Reason Code', select Batch Upload
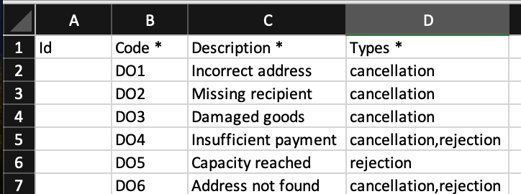
- Download either the Excel or CSV template
- Edit template entering Code, Description and Types and Save
- Upload template (drag and drop or select file to upload)
- Select Save